Mastering Old Bumper Sticker Removal: A Detailed Guide
Few things are as satisfying as a clean car, and few things are as frustrating as an old, faded bumper sticker that refuses to budge. Over time, sunlight, weather, and repeated car washes bake the adhesive onto your vehicle's paint, turning a once-simple decal into a stubborn, sticky challenge. Attempting to peel them off dry often leads to frustrating tears, leaving behind unsightly residue and sometimes even damaging your car's finish. But there's a highly effective approach that, while perhaps not the neatest during application, promises a pristine result.
Few things are as satisfying as a clean car, and few things are as frustrating as an old, faded bumper sticker that refuses to budge.
Understanding the Challenge of Old Bumper Stickers
The problem isn't just the sticker itself, but the strong adhesive designed to withstand elements. As time passes, this adhesive can become brittle, or conversely, melt into a gummy mess, making removal difficult. Aggressive scraping can scratch paint, and harsh chemical removers might strip waxes or damage clear coats. What's needed is a method that gently weakens the adhesive without harming the underlying surface.
The Deconstructed Approach for Clean Removal
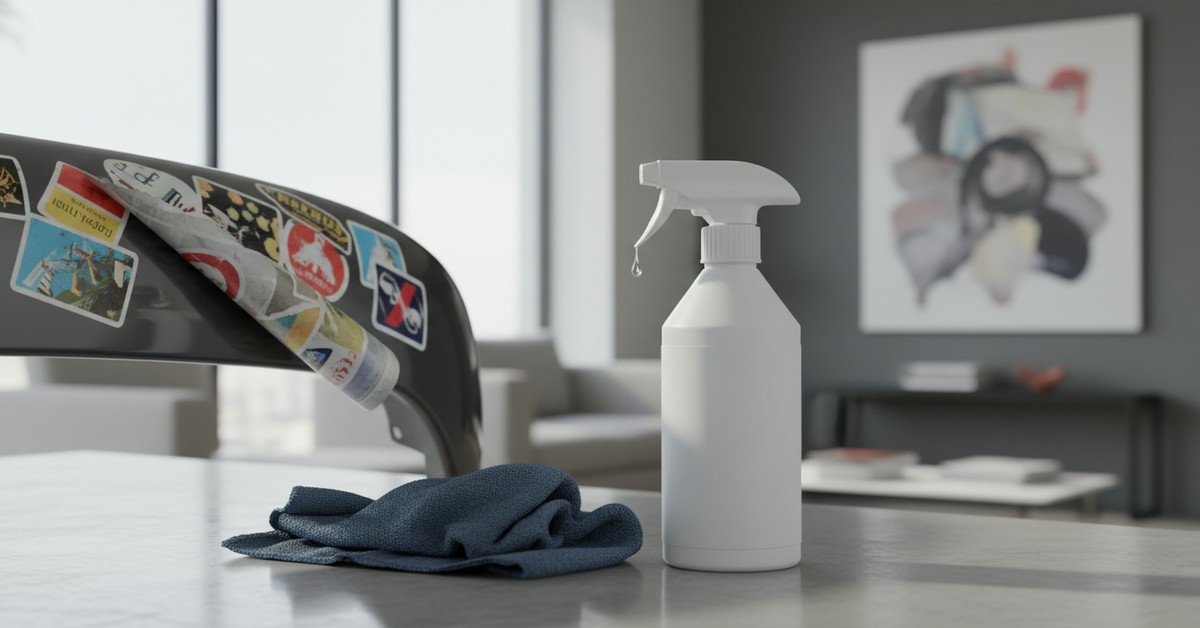
The method we'll explore might initially appear a bit unconventional or, dare we say, a "mess." But this temporary visual disruption is key to its success. It combines targeted softening agents with heat and gentle mechanical removal to ensure a clean lift every time. Think of it as a specialized poultice for your car.
Step-by-Step Guide:
- Preparation is Key: Begin by washing the area around the bumper sticker with soap and water to remove any loose dirt or grime. A clean surface ensures your removal agents can work directly on the adhesive. Gather your tools: a hairdryer or heat gun (on low setting), a plastic scraper (like an old credit card or a specialized decal remover), a soft microfiber cloth, and a gentle adhesive remover (like Goo Gone, WD-40, or even rubbing alcohol for some adhesives, always test first!).
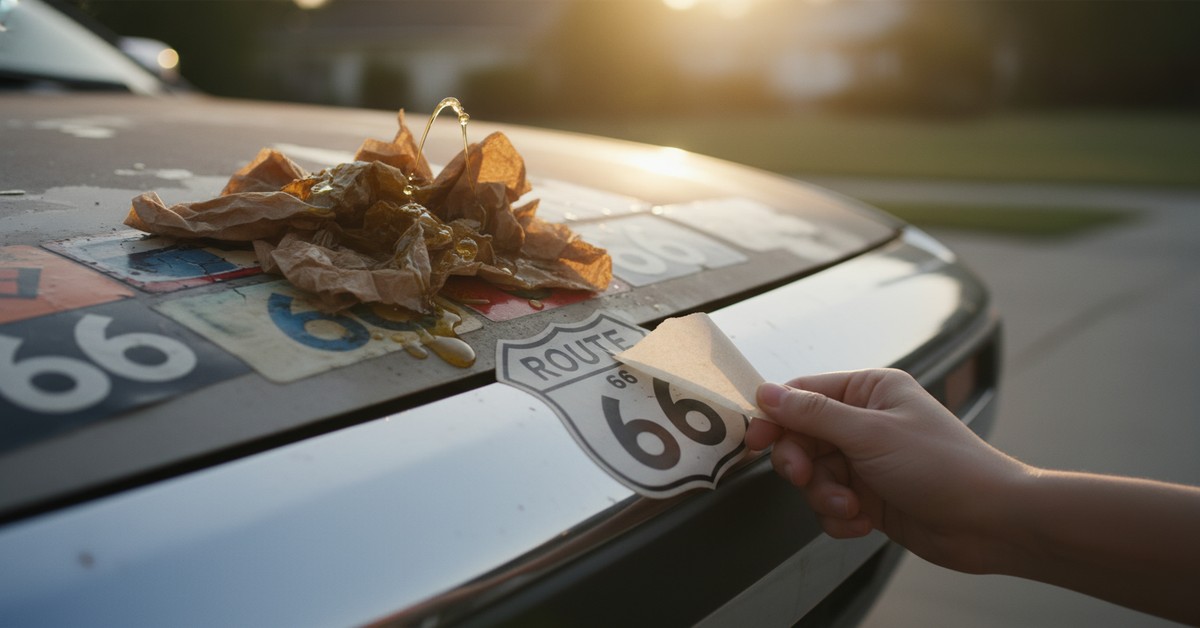
- Apply the Softening Agent: This is where it gets "messy." Instead of just spraying and wiping, you'll apply a generous, thick layer of your chosen adhesive remover directly onto the sticker and its edges. If using something like peanut butter or olive oil (known for breaking down some adhesives, as suggested by sources like Good Housekeeping for household sticky situations), apply a thick dollop covering the entire sticker. The goal is to saturate the sticker and adhesive underneath, allowing it to penetrate and break down the bond. Let it sit for 15-30 minutes, or even longer for very old, stubborn stickers. This saturation stage might look like a sticky, oily, or pasty blob on your car – hence the "mess."
- Gentle Heat Application: After the softening agent has had time to work, use your hairdryer or heat gun (on a low to medium setting, held several inches away) to gently warm the sticker. Move the heat source constantly to avoid overheating any one spot, which could damage the paint. The heat further loosens the adhesive, making it more pliable.
- Careful Peeling and Scraping: Starting from an edge, gently try to lift the sticker. If it resists, apply more heat and more softening agent. Use your plastic scraper to carefully push under the edge of the sticker, working slowly and steadily. Angle the scraper flat against the car's surface to avoid scratching. As WikiHow advises for decal removal, patience is paramount to prevent tearing the sticker into tiny pieces.
- Residue Removal and Final Clean: Once the main sticker is off, you might have some residual stickiness. Apply a small amount of adhesive remover to your microfiber cloth and gently wipe away any remaining gunk. Follow up with a good car wash and wax to restore the paint's protective layer.
Why This Method Works So Well
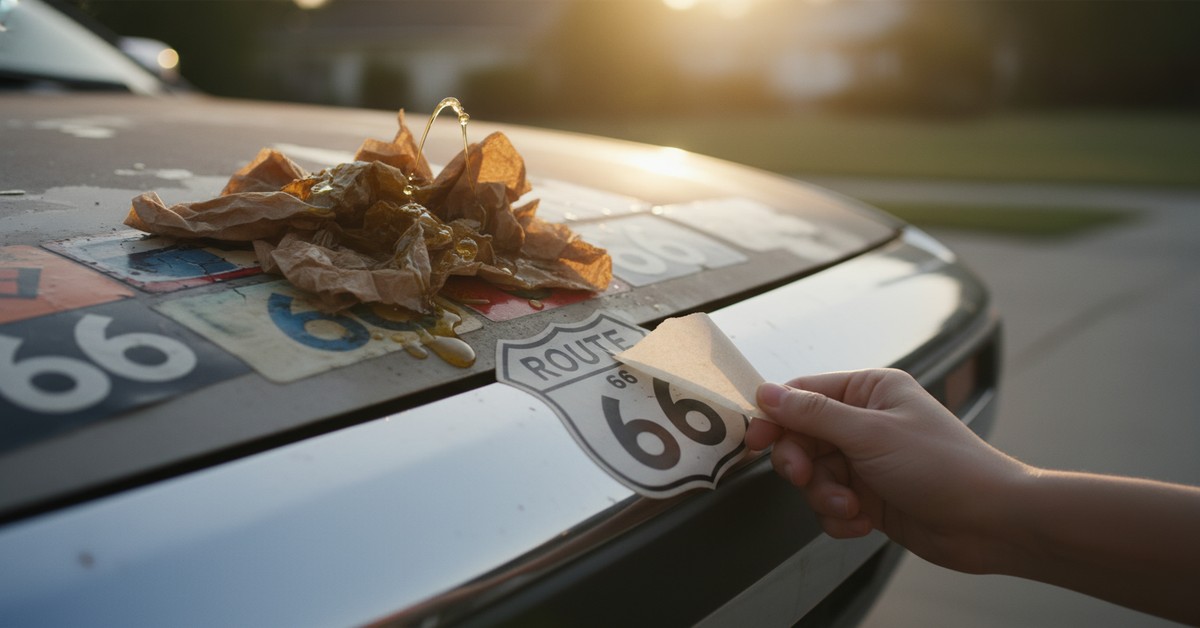
The combination of a penetrating softening agent and controlled heat is highly effective. The agent breaks down the chemical bonds of the adhesive, while heat makes it more elastic and easier to separate from the surface. The "messy" application ensures deep saturation, which is crucial for older, more entrenched stickers. This holistic approach minimizes the risk of paint damage and ensures a smooth, clean surface, ready for its next adventure – or just a pristine look.