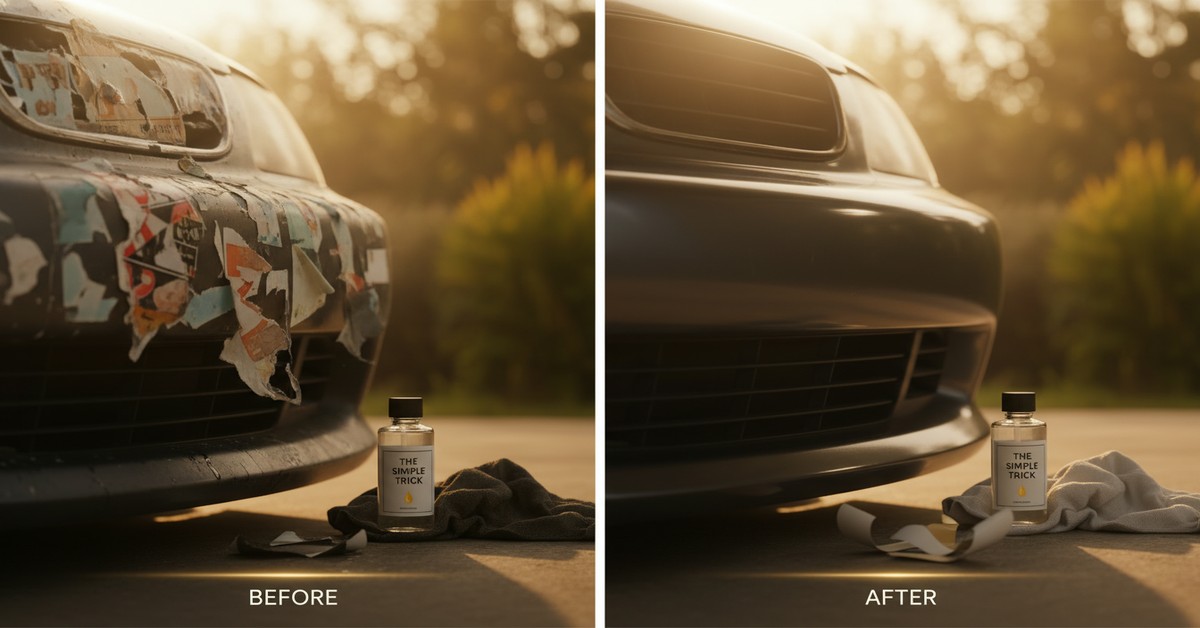
Effortless Old Bumper Sticker Removal: A Step-by-Step Guide
Few things are as frustrating as an old, faded bumper sticker stubbornly clinging to your car. Over time, sun exposure, car washes, and harsh weather fuse the adhesive to your vehicle's surface, making removal a daunting task. Many resort to scraping, harsh chemicals, or abrasive tools, often leaving behind sticky residue, scratches, or even damaged paintwork. But what if there was a method that, while initially appearing counterintuitive, delivered perfectly clean results every time?
Few things are as frustrating as an old, faded bumper sticker stubbornly clinging to your car.
The Unconventional Approach to Sticker Removal
Enter what we call The Simple Trick That Looks Like a Mess But Makes Old Bumper Stickers Peel Right Off. This method challenges the conventional wisdom of immediate scrubbing. Instead, it embraces a temporary, somewhat gooey application that works to gently break down the adhesive bond, allowing the sticker to lift away with surprising ease. It might look a bit odd during the process, but the results speak for themselves.
Why Traditional Methods Fall Short
Before diving into the trick, it’s important to understand why typical removal attempts fail. Scraping with razor blades or plastic tools can etch your car's clear coat. Aggressive solvents can strip wax or even damage paint. And simply pulling at a dry sticker almost always leaves behind a frustratingly sticky shadow. The key to successful removal lies in softening the adhesive without harming the underlying surface.
Your Step-by-Step Visual Challenge
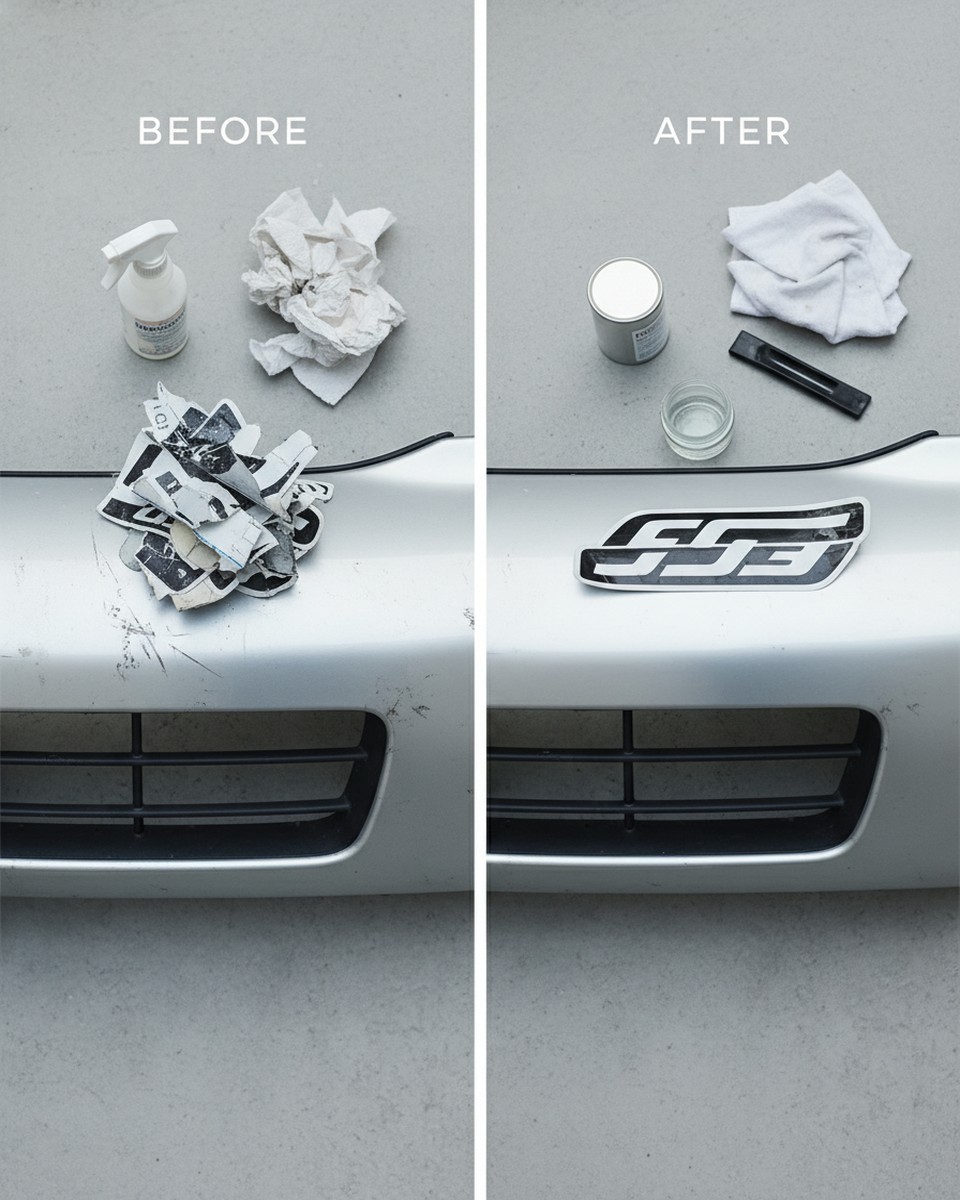
This "messy" method effectively tackles even the most stubborn adhesives. Here's how to apply The Simple Trick That Looks Like a Mess But Makes Old Bumper Stickers Peel Right Off:
- Gather Your Supplies: You'll need a common household item (creamy peanut butter works surprisingly well!), a soft cloth, a plastic scraper (like an old credit card), and a car cleaning spray or rubbing alcohol.
- Prepare the Area: Wash the bumper area around the sticker to remove any loose dirt or grime. This prevents scratching during the process.
- Apply the "Mess": Liberally spread a layer of creamy peanut butter over the entire bumper sticker, ensuring it's completely covered. Yes, it looks messy, almost like a toddler got to your car, but this is where the magic begins.
- Let it Work: Allow the peanut butter to sit for at least 20-30 minutes. For extremely old or stubborn stickers, you might extend this to an hour or even overnight. The oils in the peanut butter penetrate and soften the sticker's adhesive.
- Gentle Removal: After the waiting period, use your plastic scraper to gently lift an edge of the sticker. You should find it peels away much more easily than before. For any lingering bits, reapply peanut butter and wait a bit longer.
- Clean Up: Once the sticker is removed, wipe away the peanut butter residue with a soft cloth. Then, use a car cleaning spray or rubbing alcohol to remove any oily film or final adhesive traces. Polish the area as usual.
The Science Behind the Mess
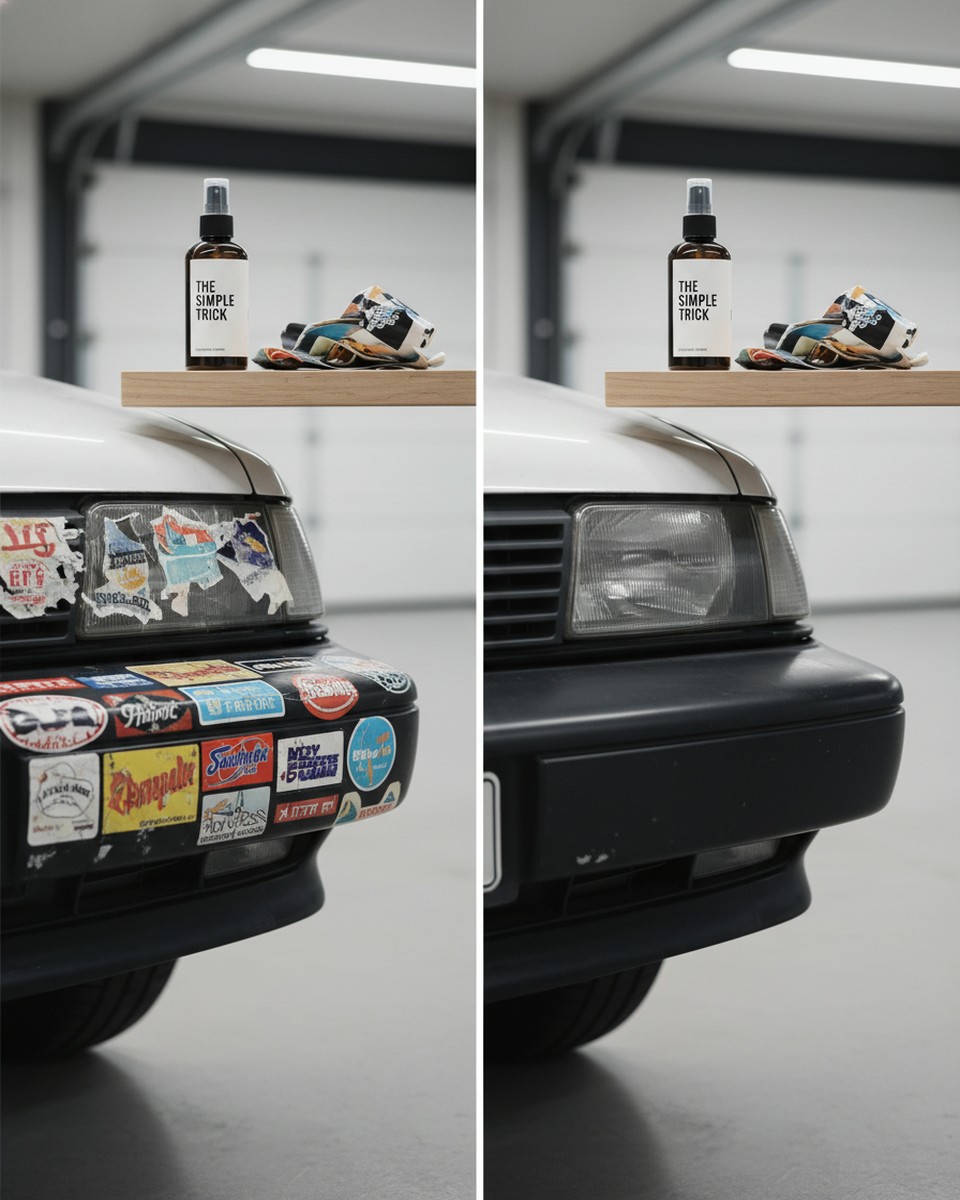
According to automotive detailing resources, the oils present in substances like peanut butter (and even some cooking oils or bug removers) act as a solvent for the petroleum-based adhesives found on most bumper stickers. This process, as explained by WikiHow, allows the sticker to detach without the need for harsh scraping that can damage your car's finish. It’s a gentle yet powerful enzymatic and solvent action disguised as a kitchen staple.
Experience a Clean Bumper
While the initial application of this method may challenge your perception of "clean" car care, the satisfaction of seeing a decades-old bumper sticker slide off effortlessly, leaving no trace behind, is undeniable. Say goodbye to sticky residue and scratched paint, and hello to a pristine bumper, all thanks to a visually odd but incredibly effective solution.