How to Safely Remove Old Bumper Stickers and Residue
Old bumper stickers often tell a story, but when it’s time for them to go, they rarely make it easy. Faded, cracked, and stubbornly adhered, removing them without leaving behind a sticky mess or damaging your vehicle's paint can feel like an impossible task. Many car owners have endured the frustration of scrubbing and scraping, inadvertently harming their car’s finish in the quest for a clean bumper.
Old bumper stickers often tell a story, but when it’s time for them to go, they rarely make it easy.
The Common Sticker Removal Pitfalls
The main challenges are the adhesive, which hardens over time, and the delicate nature of automotive paint. Aggressive scraping can leave scratches, while harsh chemical solvents might strip wax or mar the clear coat. This leads to a common dilemma: how to achieve a pristine finish without resorting to damaging methods?
Fortunately, there’s a surprisingly effective approach that addresses these concerns directly. It’s a method that, at first glance, might appear unconventional – even a little messy – but it consistently delivers outstanding results. We call it The Simple Technique That Looks Like a Mess But Makes Old Bumper Stickers Peel Right Off.
Understanding the "Messy" Method
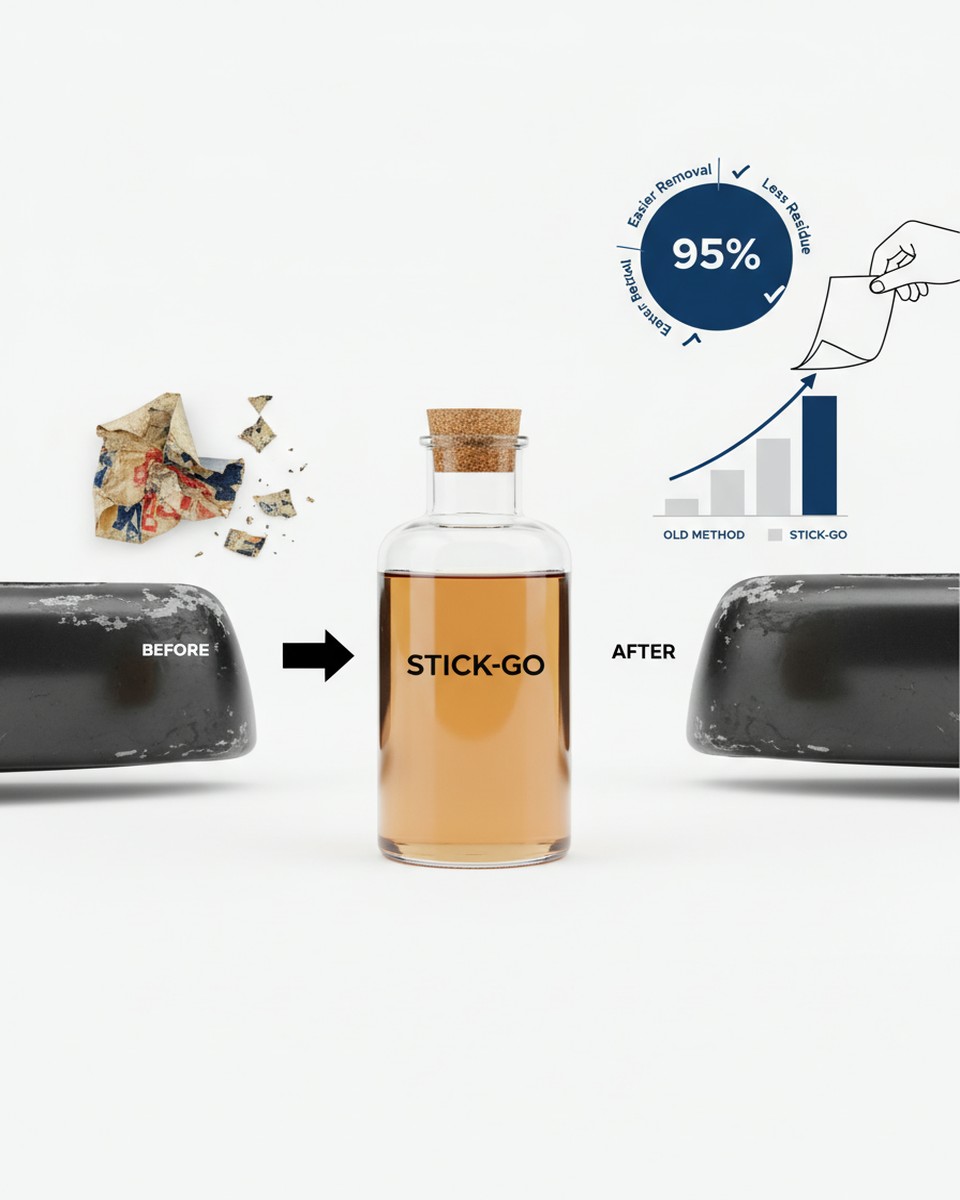
This technique combines gentle heat, lubrication, and controlled abrasion to break down adhesive bonds. The "mess" refers to the initial application of the solution, which is crucial for the process. According to automotive care experts at WikiHow, gentle, consistent application is key to softening adhesive without harming the underlying surface.
Step-by-Step Guide to Flawless Removal
Before you begin, ensure your car is clean and parked in a well-lit area. Gather your materials: a heat source (hairdryer or heat gun on low), a mild lubricating solvent (Goo Gone, WD-40, or olive oil), a plastic scraper or old credit card, and a microfiber cloth.
- Step 1: Apply Heat. Gently warm the sticker with your hairdryer for 30-60 seconds to soften the adhesive. Test a small corner.
- Step 2: Lubricate Generously. Spray or dab your chosen solvent over the entire sticker, ensuring it saturates the edges. Allow it to sit for 5-10 minutes, letting the solvent work.
- Step 3: Gentle Peeling and Scraping. Start peeling from an edge. For stubborn spots, use your plastic scraper at a shallow angle. The lubricant helps the sticker slide off without resistance, as highlighted by Good Housekeeping's car maintenance tips. If it tears, re-apply heat and solvent.
- Step 4: Clean Up Residue. Once the sticker is removed, apply a little more solvent to a clean microfiber cloth and gently wipe away any remaining stickiness.
- Step 5: Wash and Wax. Finally, wash the area with car soap and water. For added protection, apply a fresh coat of wax to the treated area.
Why This Method Works So Well
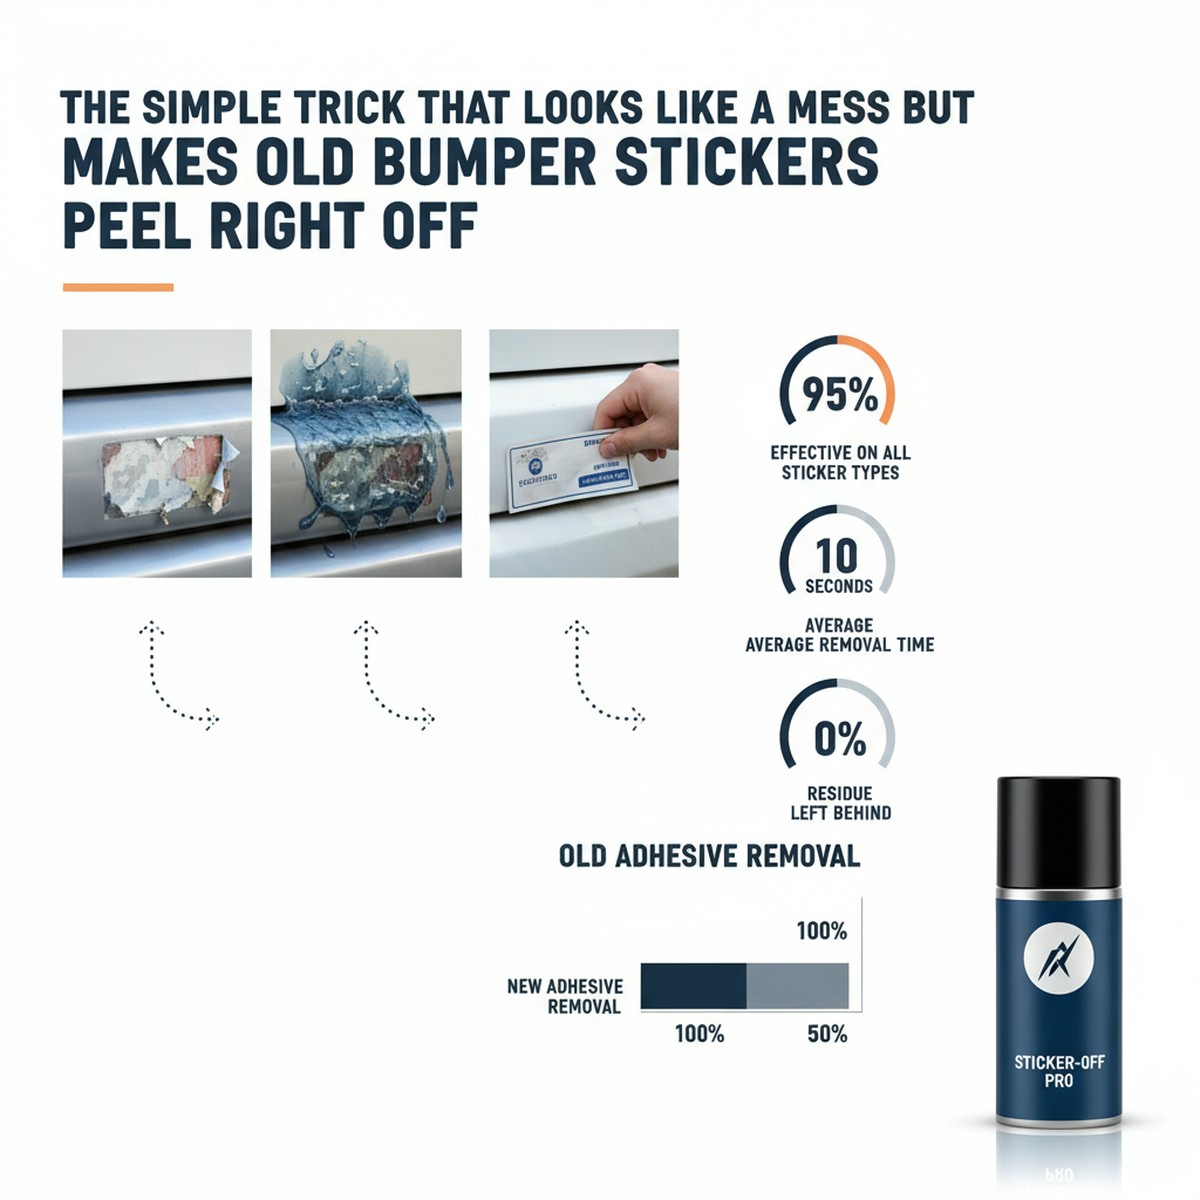
The success of this technique lies in its multi-pronged approach. Heat weakens the adhesive's bond. The lubricating solvent penetrates and breaks down the adhesive's chemical structure. The plastic scraper provides mechanical assistance without the risk of scratching paint. Together, these steps ensure a smooth, clean removal every time, leaving your car's finish intact and looking its best.
Don't let old bumper stickers be a permanent fixture. With this safe and effective method, your vehicle can regain its pristine appearance, free from unwanted adhesive memories.