An Unconventional Method for Removing Stubborn Bumper Stickers
Old bumper stickers are often more than just a faded memory; they're a persistent challenge for car owners. Whether it's residue from a long-lost band, a forgotten political statement, or a faded school logo, getting these adhesive relics off your vehicle without damaging the paint can feel like an impossible task. Many resort to scraping, harsh chemicals, or simply leaving them in place, none of which are ideal solutions.
The problem with traditional removal methods lies in the adhesive. Over time, sunlight and weather bake the glue onto your car's finish, making it incredibly stubborn. Scraping can scratch the paint, while some strong chemical removers can strip clear coats or leave an oily residue. What's needed is a method that breaks down the adhesive safely and effectively, and often, the best solutions aren't always the prettiest during the process.
Old bumper stickers are often more than just a faded memory; they're a persistent challenge for car owners.
Introducing the Unconventional Peeling Technique
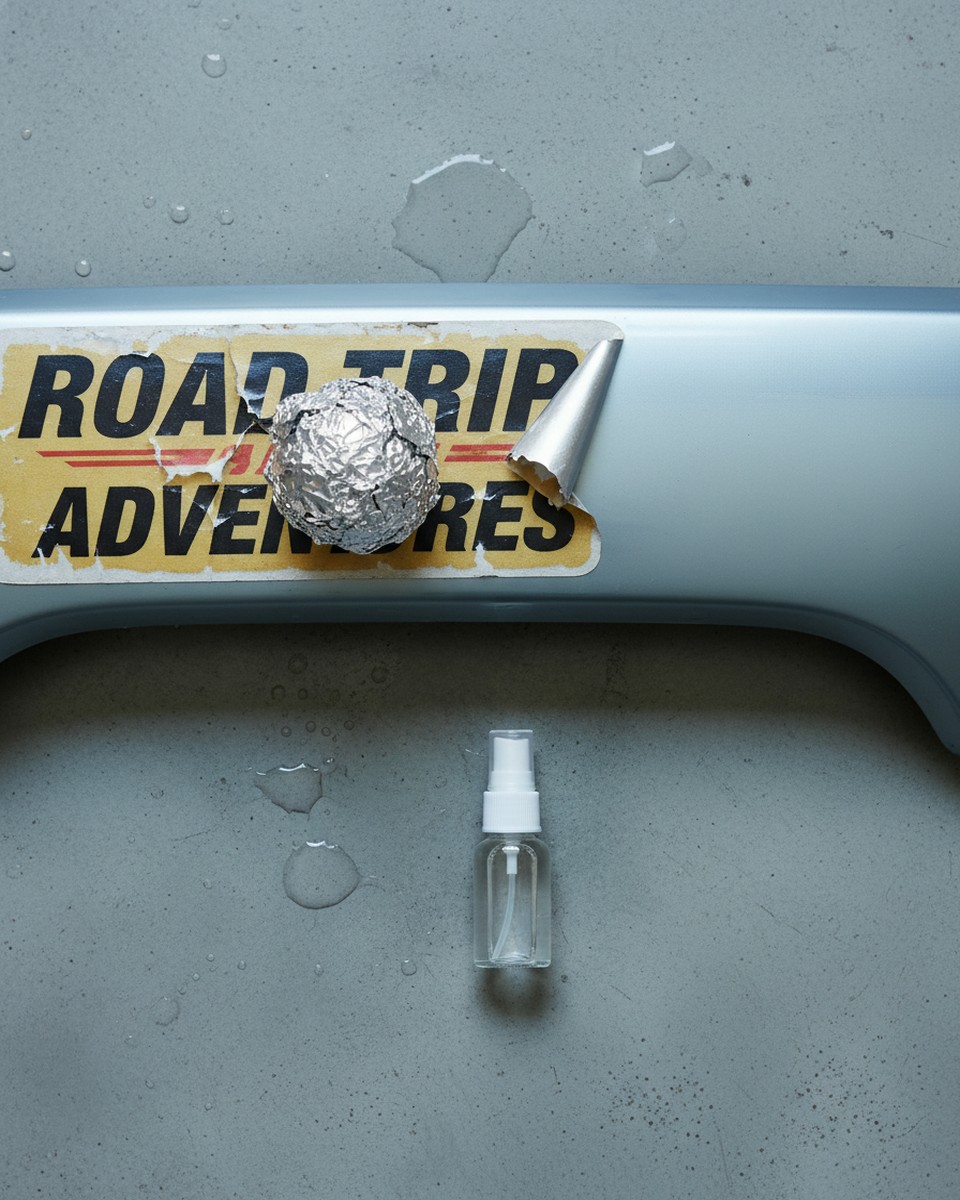
There's an effective technique that, at first glance, might look like a bit of a mess, but it consistently delivers spotless results when peeling off even the most aged and stubborn bumper stickers. This approach combines gentle heat with a household solution to break the bond of the adhesive, allowing the sticker to come off cleanly and completely.
What You'll Need:
- Hair dryer or heat gun (on low setting)
- White vinegar
- Cooking oil (vegetable or olive oil works well)
- Clean microfiber cloths
- Plastic scraper (like a credit card or plastic putty knife)
- Rubbing alcohol (optional, for final residue)
Step-by-Step Guide:
1. Heat the Sticker: Start by thoroughly heating the entire sticker with your hair dryer or heat gun. Hold it a few inches away and move it constantly to prevent overheating any one spot. The goal is to warm the adhesive, not to melt the paint. Apply heat for 1-2 minutes until the sticker feels warm to the touch and slightly pliable.
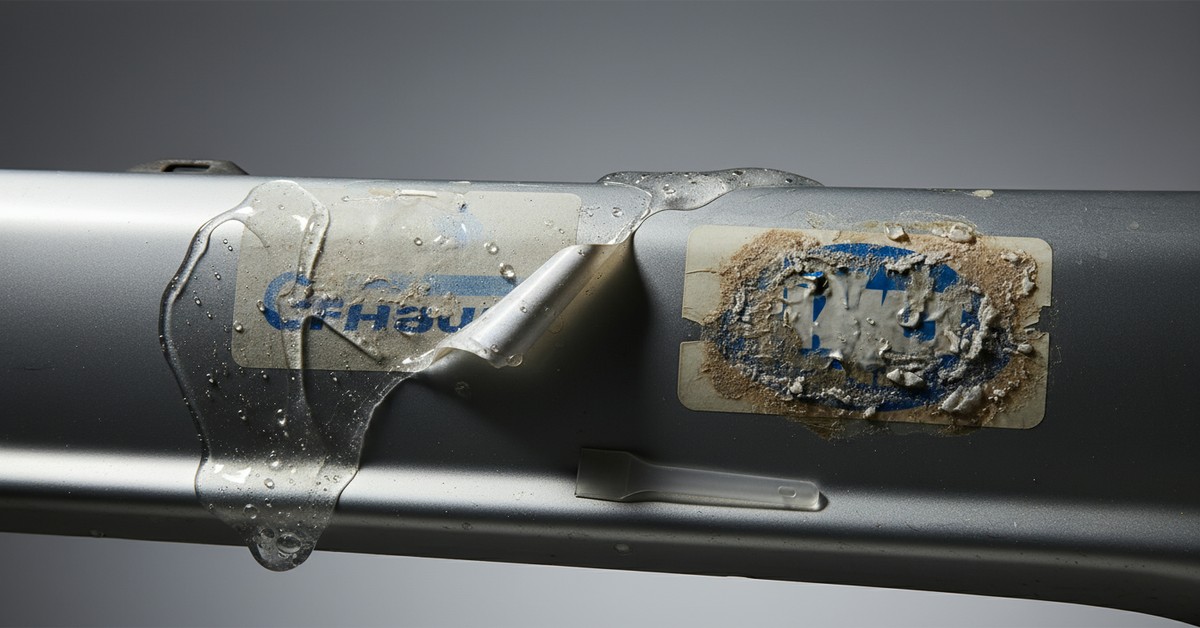
2. Apply the "Messy" Solution: In a small bowl, mix equal parts white vinegar and cooking oil. This combination might look unappealing, but it's key. Vinegar helps dissolve some adhesives, while oil lubricates and further breaks down the sticky bond. Liberally apply this mixture directly onto the heated sticker, ensuring it saturates the edges and surface. Don't be afraid if it looks a bit greasy and messy – that's part of its charm!
3. Let it Soak: Allow the vinegar and oil mixture to sit on the sticker for at least 15-20 minutes. For extremely stubborn stickers, you might want to reapply the mixture and let it sit for up to an hour. The longer it soaks, the more effectively it will penetrate and soften the adhesive.
4. Gentle Peeling and Scraping: After soaking, gently try to peel a corner of the sticker. If it resists, apply a little more heat and a fresh dab of the solution. Use your plastic scraper to carefully push under the sticker, working slowly and patiently. The sticker should start to lift off in larger pieces, bringing the softened adhesive with it. According to an article by Consumer Reports on car maintenance, patience is vital in any sticker removal to prevent surface damage.
5. Clean Up Residue: Once the main sticker is removed, you might have some lingering adhesive residue. Apply a small amount of rubbing alcohol or even a bit more cooking oil to a clean microfiber cloth and gently rub away any remaining stickiness. Finish by cleaning the area with soap and water to remove all traces of the solution.
This method works by using heat to soften the initial bond, then the vinegar's mild acidity and the oil's lubricating properties work in tandem to break down the adhesive's chemical structure. While it might look a bit unconventional and messy during application, the end result is a clean, sticker-free surface, preserving your car's finish. As WikiHow explains in its comprehensive guides, combining different agents often yields the best DIY results for tough tasks.